How to setup Ruby On Rails Development Environment In Linux Mint
Lets see how to install Ruby On Rails On Linux mint and completely setting up development environment from editor to databases . for newbies ruby on rails is web framework written in Ruby language , based on MVC pattern.
Ruby on Rails, or simply Rails, is an open source web application framework written in Ruby. Rails is a full-stack framework that emphasizes the use of well-known software engineering patterns and paradigms, including convention over configuration (CoC), don’t repeat yourself (DRY), the active record pattern, and model–view–controller (MVC)
You can learn more about rails on ruby on rails website : http://rubyonrails.org/ .
code editors
choosing a good code editor is always turn you more productive and beneficial , but most of the time its depend on your personal choice and taste . here is a list of some great code editors for Linux .
1 . vim ( sudo apt-get install vim )
2 . gedit ( inbuilt in Linux mint )
3 . sublime text 3
4 . atom
I like vim and sublime text 🙂
Ruby
okay now lets install ruby . there are many ways of installing ruby in Ubuntu like using apt-get or tar-ball from ruby website , but in this tutorial I’ll be using RVM which is great tool for managing multiple versions of ruby and gemsets .
First lets install Prerequisites
sudo apt-get update
sudo apt-get install curl git software-properties-common

# few more
sudo apt-get install gawk g++ gcc make libc6-dev libreadline6-dev
zlib1g-dev libssl-dev libyaml-dev libsqlite3-dev sqlite3 autoconf
libgdbm-dev libncurses5-dev automake libtool bison pkg-config libffi-dev
Now lets install RVM
curl -sSL https://get.rvm.io | bash -s stableIf you are getting kind of GPG Bad signature or something like that error then just use this command to import GPG keys .
command curl -sSL https://rvm.io/mpapis.asc | gpg --import - && !!sample output :
gpg: key D39DC0E3: public key "Michal Papis (RVM signing) <[email protected]>" imported
gpg: Total number processed: 1
gpg: imported: 1 (RSA: 1
” !! ” will just run previous command just wait few seconds .
sample output :
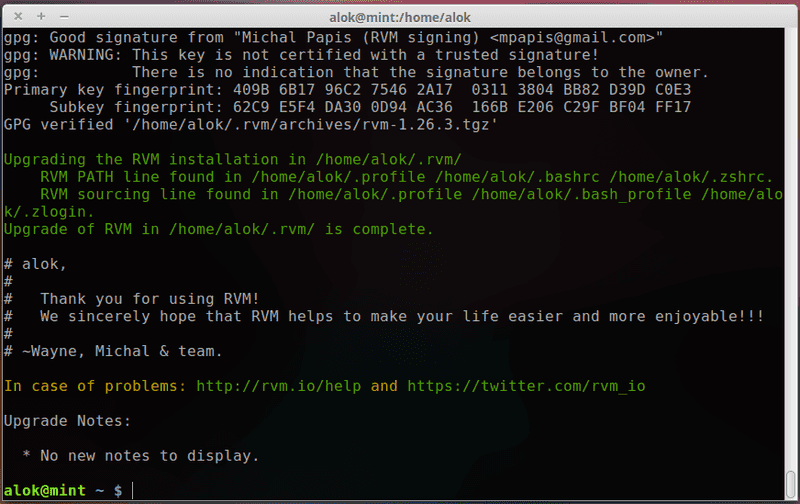
let’s verify installation of rvm
source ~/.rvm/scripts/rvm
type rvm | head -n 1
Sample output :
rvm is a function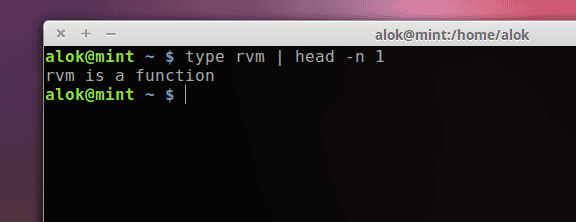
Now its good to go , rvm is installed successfully , Now lets install ruby
rvm install ruby-2.1.5this command will install ruby 2.1.5 , you can use rvm list known to see list of all available rubies .
Output :
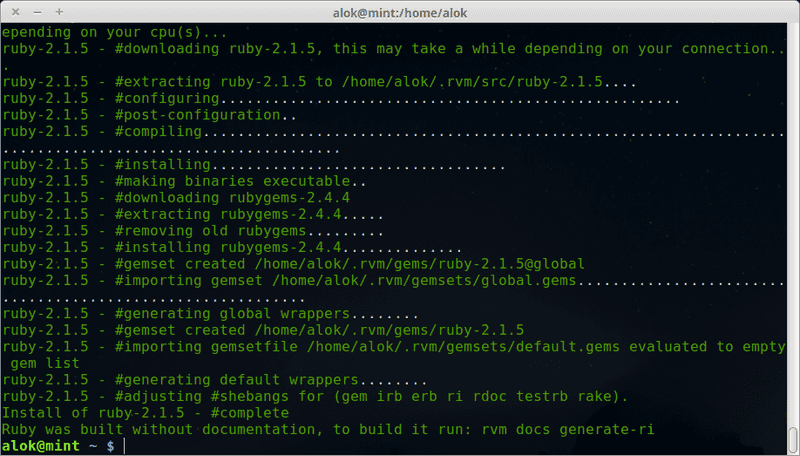
tell rvm to use installed ruby
rvm use 2.1.5 --defaultnow lets verify
ruby --version && which rubysample output :
ruby 2.1.5p273 (2014-11-13 revision 48405) [x86_64-linux]
/home/alok/.rvm/rubies/ruby-2.1.5/bin/ruby
Ruby On Rails
Okay ruby is installed , lets install Rails , its super easy to install
gem install bundler
gem install rails
It will take some time depending on your Internet connection to install rails and its dependencies .
after full installation , lets see which version of rails is installed
Databases ( MySQL or PostgreSQL )
Ruby and Rails are installed , By default rails use sqlite3 as a database . but you can switch adapter anytime . just install preferred database and install its related gem .
sudo apt-get install mysql-server mysql-client libmysqlclient-dev libmysqld-dev
sudo apt-get install postgresql libpq5 libpq-dev
Now install related gems , pg is gem for postgresql and mysql for mysql
gem install pg
gem install mysql
lets install node for javascript support
curl -sL https://deb.nodesource.com/setup | sudo bash -Sample Application
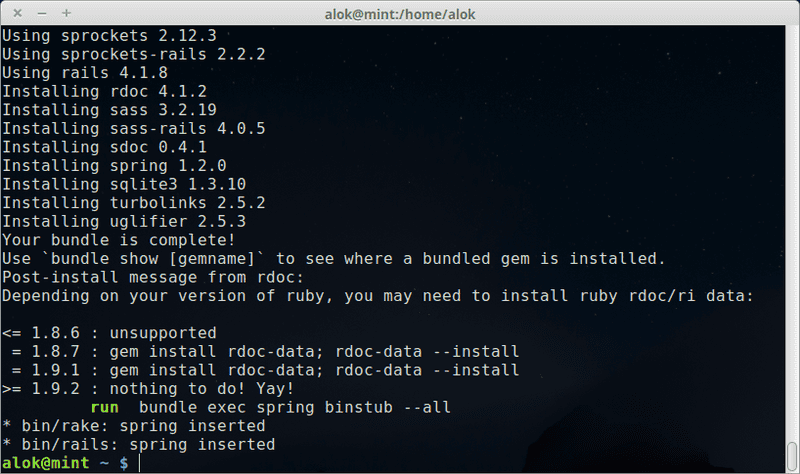
lets create a sample blog application .
$ rails new blog
$ cd blog
output :
Now lets create posts scaffolding with title and content fields
$blog
rails generate scaffold posts title content:text
rake db:migrate
Now lets start rails development server type
$blog
rails s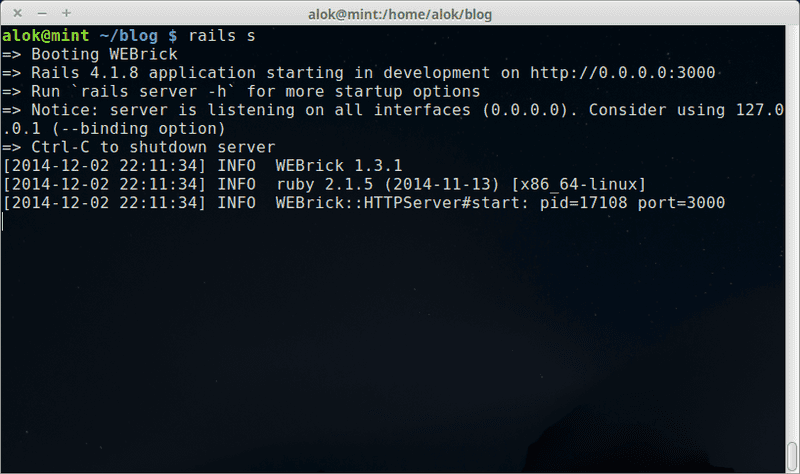
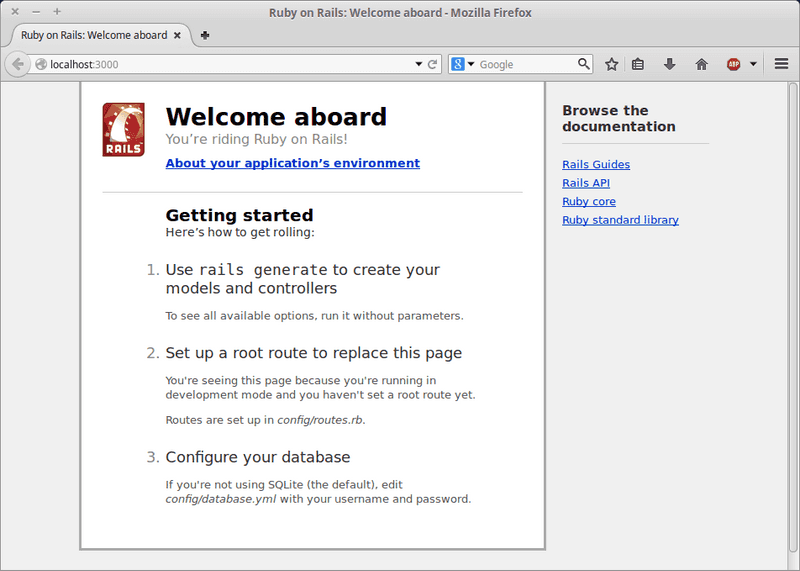
open your browser and brows to http://localhost:3000 , you will get default rails page
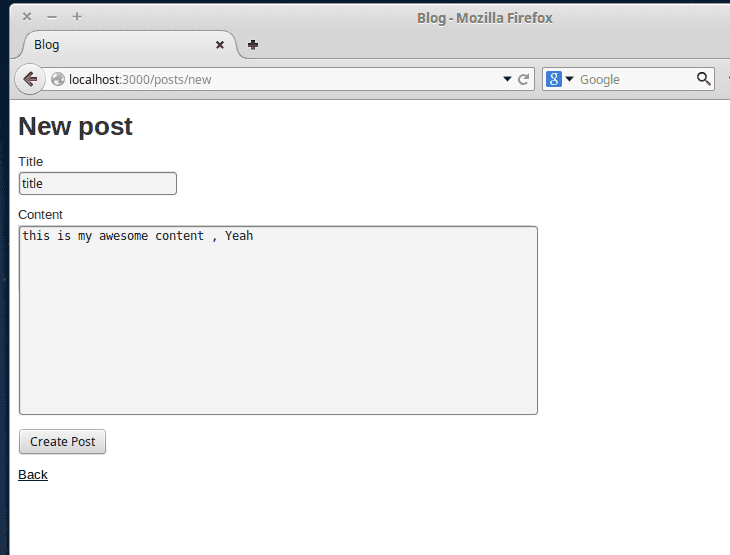
Now brows to http://localhost:3000/posts/new and you will get new post form .
Useful Links
That’s All for Now Thanks For Watching
Screen-Cast : https://www.youtube.com/watch?v=moZEPfyDUjc
Thanks For Reading .