How to enable and setup virtual-host in MacOSX 10.10 Yosemite
1 min read
This guide is part of tutorials series related to full development environment setup , previously I posted about how to enable Apache and PHP in Mac OS X : See here .
For MacOSX 10.9 Users : http://www.computersnyou.com/2892/2014/01/setup-apache-virtualhost-macosx-10-9-step-step/
Setup
edit /etc/apache2/httpd.conf
sudo nano /etc/apache2/httpd.conf
and uncomment Include /private/etc/apache2/extra/httpd-vhosts.conf Line ( remove # from starting of the line )
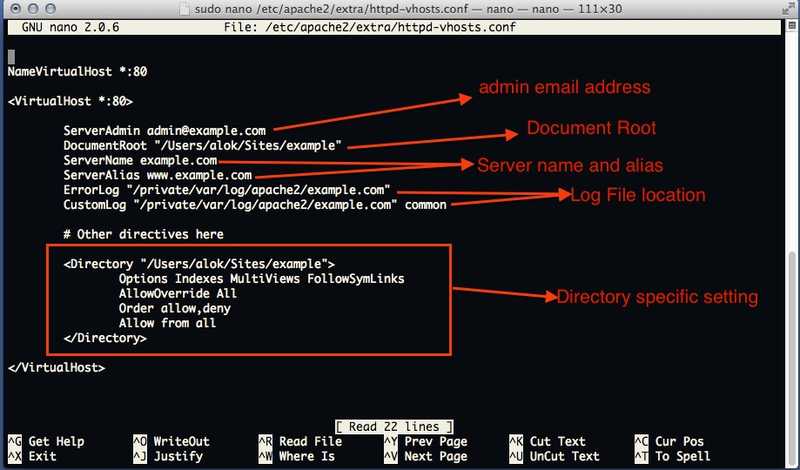
Then edit /etc/apache2/extra/httpd-vhosts.conf
# Virtual Hosts
 #
 # Required modules: mod_log_config

 NameVirtualHost *:80

 <VirtualHost *:80>
 ServerName example.com
 ServerAlias www.example.com
 DocumentRoot "/Users/alok/Sites/example"
 <directory "/Users/alok/Sites/example">
 Options Indexes MultiViews FollowSymLinks
 AllowOverride All
 Order allow,deny
 Allow from all
 </Directory>
 ErrorLog "/private/var/log/apache2/dummy-host.example.com-error_log"
 CustomLog "/private/var/log/apache2/dummy-host.example.com-access_log" common
</VirtualHost>
Example :

Now setup Host File to point at localhost as example.com
open /etc/hosts
sudo nano /etc/hosts
 and add
 127.0.0.1 example.com
and restart the web server open terminal and type
sudo apachectl restart
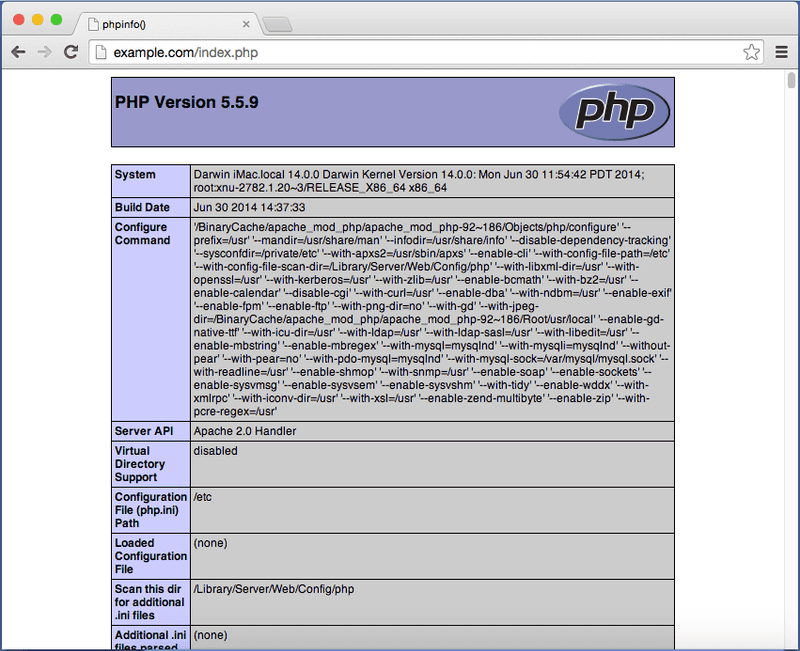
then open browser and open http://example.com . now example.com will point at your local web server .
